
Backyard Garden - Papaya Plant By Vedic

August 28, 2008: Papaya Plant is even bigger now, fruit are bigger.

DSC06841

August 19, 2008: Papaya Plant during storm FAY

 DSC06572

August 15, 2008: Now plant has fruit, now sure whether we keep them or not as plant is small. Growing all these fruit may hurt her own growth.

DSC06567 DSC06562

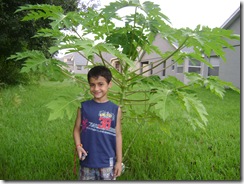
July 28, 2008: Now plant is bigger then Vedic and has flowers.

DSC06407 DSC06404

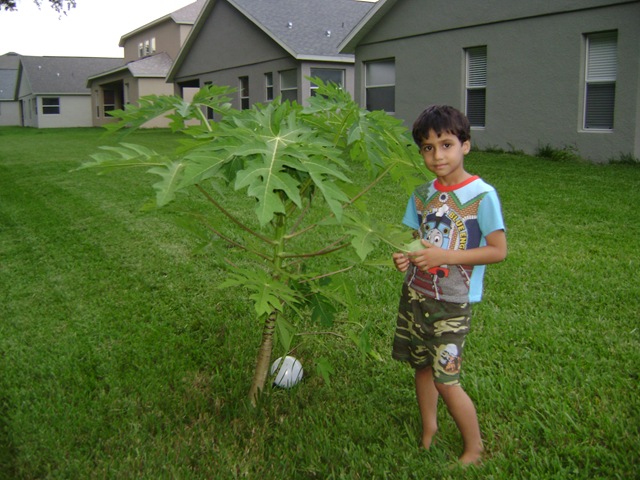
July 5, 2008: Plant grown very fast in last few months. Our neighbor think this is due to the solar lamp we placed near the plan. This solar lamp glow in night and looks awesome.

DSC06208

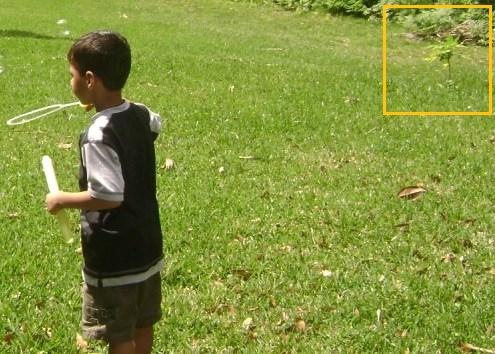
March 39, 2008 The picture of the papaya plant when Vedic was playing in the backyard with his bubbles.

DSC04871  

February 17, 2008: The picture of the papaya plant when Vedic was playing with his tent. I guess plant grown more inside the ground then the outside.

DSC04565

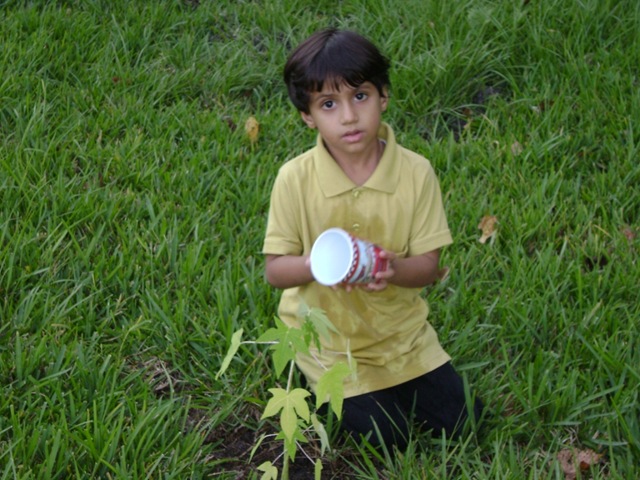
November 9, 2007: Pictures of Vedic planting a papaya plant. We got this plant from Rahul who is our friend.

DSC03275 DSC03274

Comments

  1. Very interesting post.
    I hope you will post the first fruit too.
    That will complete the post.

    ReplyDelete
  2. Sure I will do. Thanks for your comments.

    ReplyDelete

Post a Comment

Popular posts from this blog

SharePoint WebPart Error - Unable to add selected web part (s) – MOSS 2007

ISSUE: Recently I faced this issue that when I try to deploy my WebPart.  Unable to add selected web part(s). WebPartName: Cannon unregister UpdatePanel with ID ‘ctl00RTMPanel’ since it was not registerd with the ScripManager. This might occure if the UpdatePanel was removed from the control tree and later added again, which is not supported. Parameter name: updatePanel.   I faced this issue twice and both the time the issue was not what display here. This could be sure to any error in the WebPart. Following are list resolution from multiple instances.   RESOLUTION: 1. Check the WebPartName.webpart file. Check whether you have a proper PublicKeyToken value. When I face the issue the value was PublicKeyToken=$PublicKeyToken$. If you have used WSP builder then in the Visual Studio you will find this file at \WebPartsProject\12\TEMPLATE\FEATURES\WebPartName\WebPartName.webpart. Sometime when you create a new WebPart using WSP builder then you do not get

Could not open virtual machine – vmx is not a valid virtual machine configuration file

I recently faced an issue with one of my VMWare virtual machine that when I try to run this virtual machine it did not work. VMWare display this message that “Could not open virtual machine: .vmx. ".vmx" is not a valid virtual machine configuration file.” ISSUE: Could not open virtual machine: G:\VPC\RakhiQAXPProfQtp\Windows XP Professional.vmx. "G:\VPC\RakhiQAXPProfQtp\Windows XP Professional.vmx" is not a valid virtual machine configuration file. I try to open .vmx file [G:\VPC\RakhiQAXPProfQtp\Windows XP Professional.vmx] in notepad then I found it was empty (0 KB). Resolution: I wanted to resolve it quickly so I try following method and it worked very well. But this is not a valid documented process so please try with caution. Following are the steps 1. First of all go to the folder where you have your virtual machine and delete all .lck folders. 564df2d4-03de-04e8-d1c3-bd2d53dcb1b7.vmem.lck Windows XP Professional.vmdk.lck

How To Create Virtual Machine Using Existing vmdk file in VMWare Workstation

vmdk file is hard disk of the VMWare virtual machine. There are many scenarios where you may need to create a new virtual machine for an existing vmdk file. This is also an alternate Method to the “ vmx is not a valid virtual machine configuration file – Could not open virtual machine ” issue. Please refer to the previous post “ Could not open virtual machine – vmx is not a valid virtual machine configuration file ” for a full list of possible resolution. This post is to describe one of the solution in more details. How To Create a new virtual machine & attach the existing .vmdk file: 1. Open VMware and select create a new virtual machine with custom (advanced) configuration option. 2. Chose “I will install the operating system later”. and chose “I will install the operating system later”. 3. Select the operating system that matches the operating system in your existing .vldk file. 4. Select a location of the new virtual machine 5. Chose “Use an exis