
Google Chrome (BETA) for Windows is Released

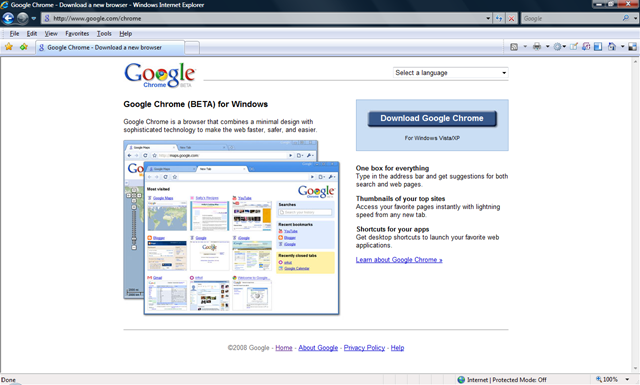
Google Chrome (BETA) for Windows is Released and available for download at http://www.google.com/chrome.

image

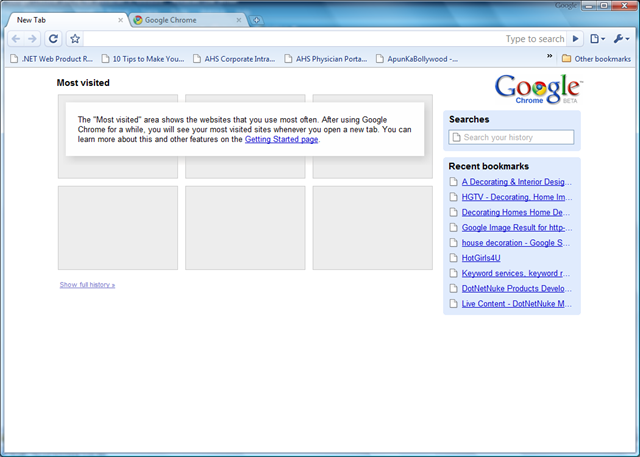
Screen-shot of Google Chrome after installation: 

image

Installation steps:
Installation steps where very simple. Just click at  the big button Download Google Chrome to start installation. 
image

Accept the Google Chrome Terms of Service
image

Click at Click Run or Open in the window that appears. 
image

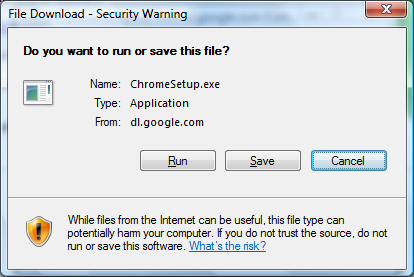
Click Run when you are asked "Do you want to run this software?"
image

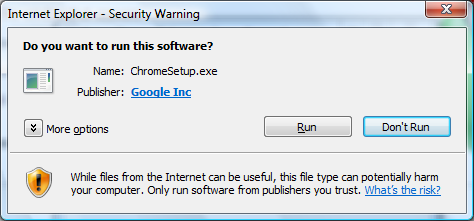
The Google Chrome installer will begin installing.
image

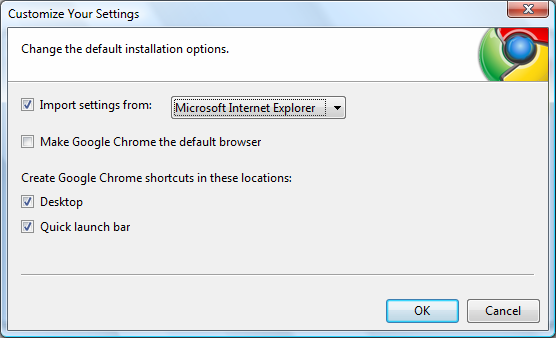
It will display a message before starting the browser regarding importing bookmark etc. You can click at customize to change import bookmark from IE or Firefox.
image

image

It will show status of import and settings
image

After few moments setup should complete and start your new browser automatically. Here is first look of MY Google Chrome.
image

You can click here to Learn about Google Chrome.
image

Comments

  1. I found this a good explorer. I installed this on VISTA. And I felt that It is using less memory then IE7. I liked the way it put last visited website screen shot on the explorer.

    ReplyDelete

Post a Comment

Popular posts from this blog

SharePoint WebPart Error - Unable to add selected web part (s) – MOSS 2007

ISSUE: Recently I faced this issue that when I try to deploy my WebPart.  Unable to add selected web part(s). WebPartName: Cannon unregister UpdatePanel with ID ‘ctl00RTMPanel’ since it was not registerd with the ScripManager. This might occure if the UpdatePanel was removed from the control tree and later added again, which is not supported. Parameter name: updatePanel.   I faced this issue twice and both the time the issue was not what display here. This could be sure to any error in the WebPart. Following are list resolution from multiple instances.   RESOLUTION: 1. Check the WebPartName.webpart file. Check whether you have a proper PublicKeyToken value. When I face the issue the value was PublicKeyToken=$PublicKeyToken$. If you have used WSP builder then in the Visual Studio you will find this file at \WebPartsProject\12\TEMPLATE\FEATURES\WebPartName\WebPartName.webpart. Sometime when you create a new WebPart using WSP builder then you do not get

Could not open virtual machine – vmx is not a valid virtual machine configuration file

I recently faced an issue with one of my VMWare virtual machine that when I try to run this virtual machine it did not work. VMWare display this message that “Could not open virtual machine: .vmx. ".vmx" is not a valid virtual machine configuration file.” ISSUE: Could not open virtual machine: G:\VPC\RakhiQAXPProfQtp\Windows XP Professional.vmx. "G:\VPC\RakhiQAXPProfQtp\Windows XP Professional.vmx" is not a valid virtual machine configuration file. I try to open .vmx file [G:\VPC\RakhiQAXPProfQtp\Windows XP Professional.vmx] in notepad then I found it was empty (0 KB). Resolution: I wanted to resolve it quickly so I try following method and it worked very well. But this is not a valid documented process so please try with caution. Following are the steps 1. First of all go to the folder where you have your virtual machine and delete all .lck folders. 564df2d4-03de-04e8-d1c3-bd2d53dcb1b7.vmem.lck Windows XP Professional.vmdk.lck

How To Create Virtual Machine Using Existing vmdk file in VMWare Workstation

vmdk file is hard disk of the VMWare virtual machine. There are many scenarios where you may need to create a new virtual machine for an existing vmdk file. This is also an alternate Method to the “ vmx is not a valid virtual machine configuration file – Could not open virtual machine ” issue. Please refer to the previous post “ Could not open virtual machine – vmx is not a valid virtual machine configuration file ” for a full list of possible resolution. This post is to describe one of the solution in more details. How To Create a new virtual machine & attach the existing .vmdk file: 1. Open VMware and select create a new virtual machine with custom (advanced) configuration option. 2. Chose “I will install the operating system later”. and chose “I will install the operating system later”. 3. Select the operating system that matches the operating system in your existing .vldk file. 4. Select a location of the new virtual machine 5. Chose “Use an exis