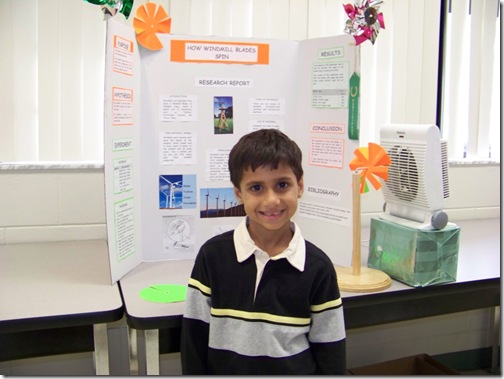
Vedic with his grade 1 Science Project, How Windmill Blades Spin.
How Windmill Blades Spin
PURPOSE
The purpose of this project is to find out how windmill blades spin.
I like windmill because they are so powerful they can pump water, turn a turbine and cut hay into little seeds with their windmill connection.
Hypothesis
My hypothesis is that the blades of the windmill spin due to the angle in the blades.
My hypothesis is based on toy windmills and knowledge I gained while reading books.
EXPERIMENT
MATERIALS
| Quantity | Item Description |
| 1 | Windmill stand - to place different type of blades |
| 4 | Different type of blades some with angle and some without angle |
| 1 | Fan - for wind source |
| 1 | Pushpin, tape |
PROCEDURES
1. Build the windmill stand and place it on the ground.
2. Place a fan approximately 1 foot away from windmill stand.
3. Place different type of blades on the windmill stand.
4. Turn the fan on to create the wind & observe whether the blade spins. Do they spin?
5. Repeat the above but change the angle of the blade to higher angle. Keep trying different blades & angle until one of the blade spins.
6. Note the observation into the result table in the note book
RESULTS
The purpose of this experiment was to find out whether the angles in the blades help in spinning the blade.
The results of the experiment were that the blades with angle spin while other blades without angle did not spin.
| Blade Type | Does it Move |
| A full circle | No |
| Blades without angle | No |
| Blades with angle | Yes |
| Blades with higher angle | Yes |
CONCLUSION
My hypothesis is that the blades of the windmill spin due to the angle in the blades. The result indicated that the hypothesis is true as the blades with angle spins while other blades did not spin.
I also observer that the higher the angle faster the spin.
RESEARCH REPORT
Windmills are machines that have 1) Windmill Blade, 2) Windmill Tower, Shaft & Gears and 3) Connectors such as Turbine, Grindstone, Crasher and Water Pump.
How Windmill works
Windmills work because wind spins the blades of the windmill. When blades spin it turns shaft & gears of the windmill and can pump water, turn a turbine and cut hay into little seeds with their windmill connection.
What is Wind
Wind is air in motion. Wind form by sun by heating air unevenly.
Use of windmill
Windmills are used to pump water, turn a turbine and cut hay into little seeds.
Types of Windmills
There are two classes of windmills, horizontal-axis machines and vertical-axis machines.
Wind farms
Wind farms are made of anywhere from 60 to 1000 windmills in a big area to generate electricity that can be used by a small city.
CONCLUSION
Windmills have been around for thousands of years. The first windmills were used for irrigation. Windmills are great as they provide electricity, pump water and grindstones. Windmills use natural resource which is wind and do not produce any harmful waste.
BIBLIOGRAPHY
The Wind at Work, An Activity Guide to Windmills, Gretchen Woelfle, 1999
Windmills, Laura Brooks, Metro Books, 1999
How Do Windmills Work, http://monsterguide.net/how-do-windmills-work
Windmill Wikipedia Guide, http://en.wikipedia.org/wiki/Windmill

Comments
Post a Comment